Recipes, Sourdough, Uncategorised
Guest post: Desem boule, a People’s Bread

Mar
We are grateful to Michael Evans, who won bronze at the 2023 Scottish Bread Championship, for submitting these easy-to-follow instructions for making his version of ‘the People’s Bread’.
All photos credited to Michael Evans.
Desem boule, a People’s Bread | Michael Evans, Craiglockhart, Edinburgh 4 March 2023
This People’s Bread has a few ingredients, and costs just a few hours total of your time and about a pound per boule. I’m a total amateur but make this bread weekly and share it with family and friends. You can too! It is based on the Flemish Desem recipe from Laurel’s Kitchen. It’s also worth reading Laurel’s introduction to the book, very much in keeping with the idea of Real Bread that is promoted by the Edinburgh Baker’s Trust. There Laurel describes how making bread from wholesome ingredients not only can easily fit into your routine, but also enrich it. As Laurel would say, ‘may it be so for you too.’ My adaptation is for simplicity. And it makes two smallish boules, one of which will make a nice gift to a neighbour, colleague or other friend.
About the routine: If you bake once a week, say on a Saturday, you would feed the starter on Friday evening and leave it to grow at room temperature overnight. Then put some of the starter in the refrigerator for next baking, and use the rest to make a dough. You will be ready to bake by Saturday afternoon or evening. Another routine that works for me as a working parent is to feed the starter overnight, mix up dough the next morning, let it rise slowly all day in the refrigerator, and bake in the evening after dinner. The bread will keep for about a week, but your family will probably finish it well before that time.
This recipe is in three parts. The first step, which you need only do once, is to make a starter (or you can email me or get some from a friend [STB edit: or buy some from us here or at Bowhouse Market weekends]). The second step is to feed the starter, and you will do this the night before you want to bake. The third step is to make the bread.
 Step 1. Make the starter.
A desem starter is a culture of microbes that is there on the wheat berries or in the flour itself. You are just encouraging it. All you need is:
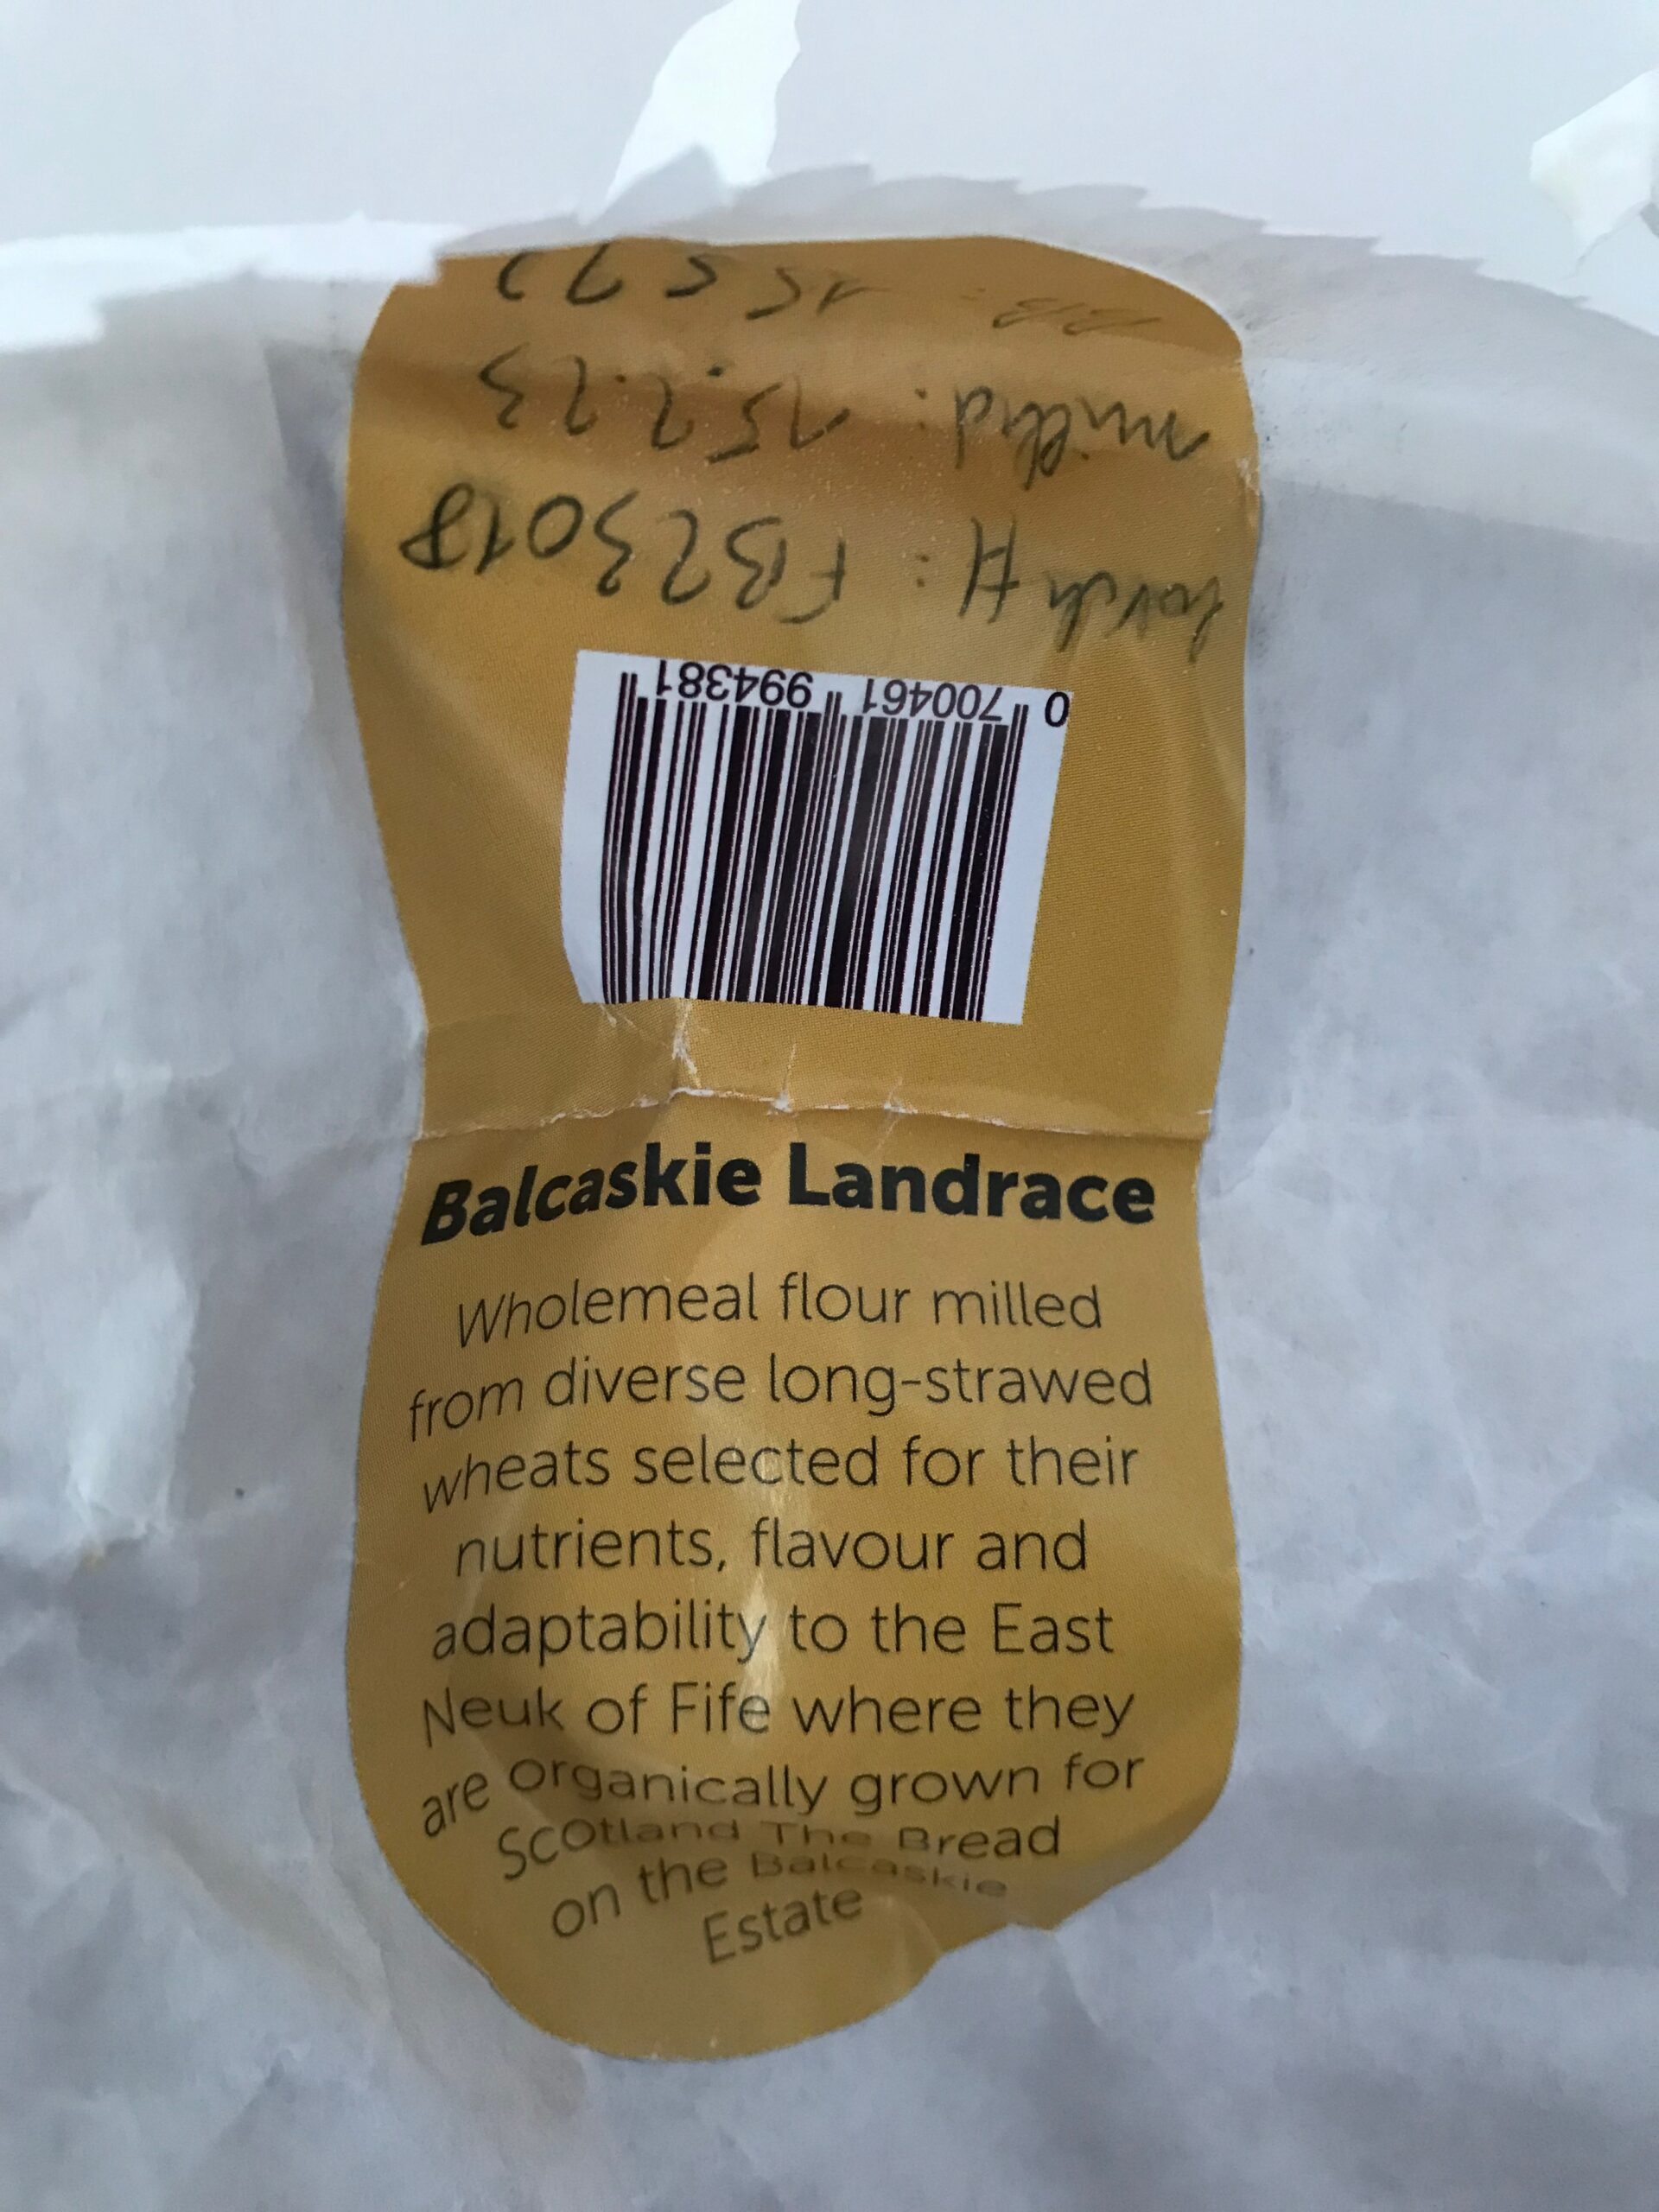
a few Kg of fresh whole wheat flour. Check it has not gone off by tasting a bit of it. It should taste sweet and not bitter. A great source is Scotland The Bread, but I have also made a starter with store brand organic whole wheat flour from the local supermarket.
water. If it tastes good to you, it will taste good to the starter.
a container with a lid. A large plastic leftover container will do. Or a casserole dish with lid. Or a pot and lid.
Here is how you make the starter:
Put the flour in your container. Remove about 200g of the flour to a bowl, and mix this with about 200g of water to make a small stiff ball of dough. Add more flour if need be. Knead it for a few minutes, bury the dough ball in the container of flour, and cover. Put the container in a cool place (12-15C is good). For the next 7 days or so, cut off half the dough ball, add 100g water and 100g flour, make a stiff dough ball, knead, bury in the flour. After about a week you will have a starter. It should smell a little sour. Wrap it in a clean handkerchief, put it in a clean, sealed non-metallic container, and store it in your refrigerator. The more frequently you feed and use it, the stronger the culture will become. If the starter develops a mould, just cut off the mould and feed your culture as described. It will come back because the culture of organisms is there in your flour and just needs a little encouragement to outcompete anything else.

Step 2. Feed your starter.
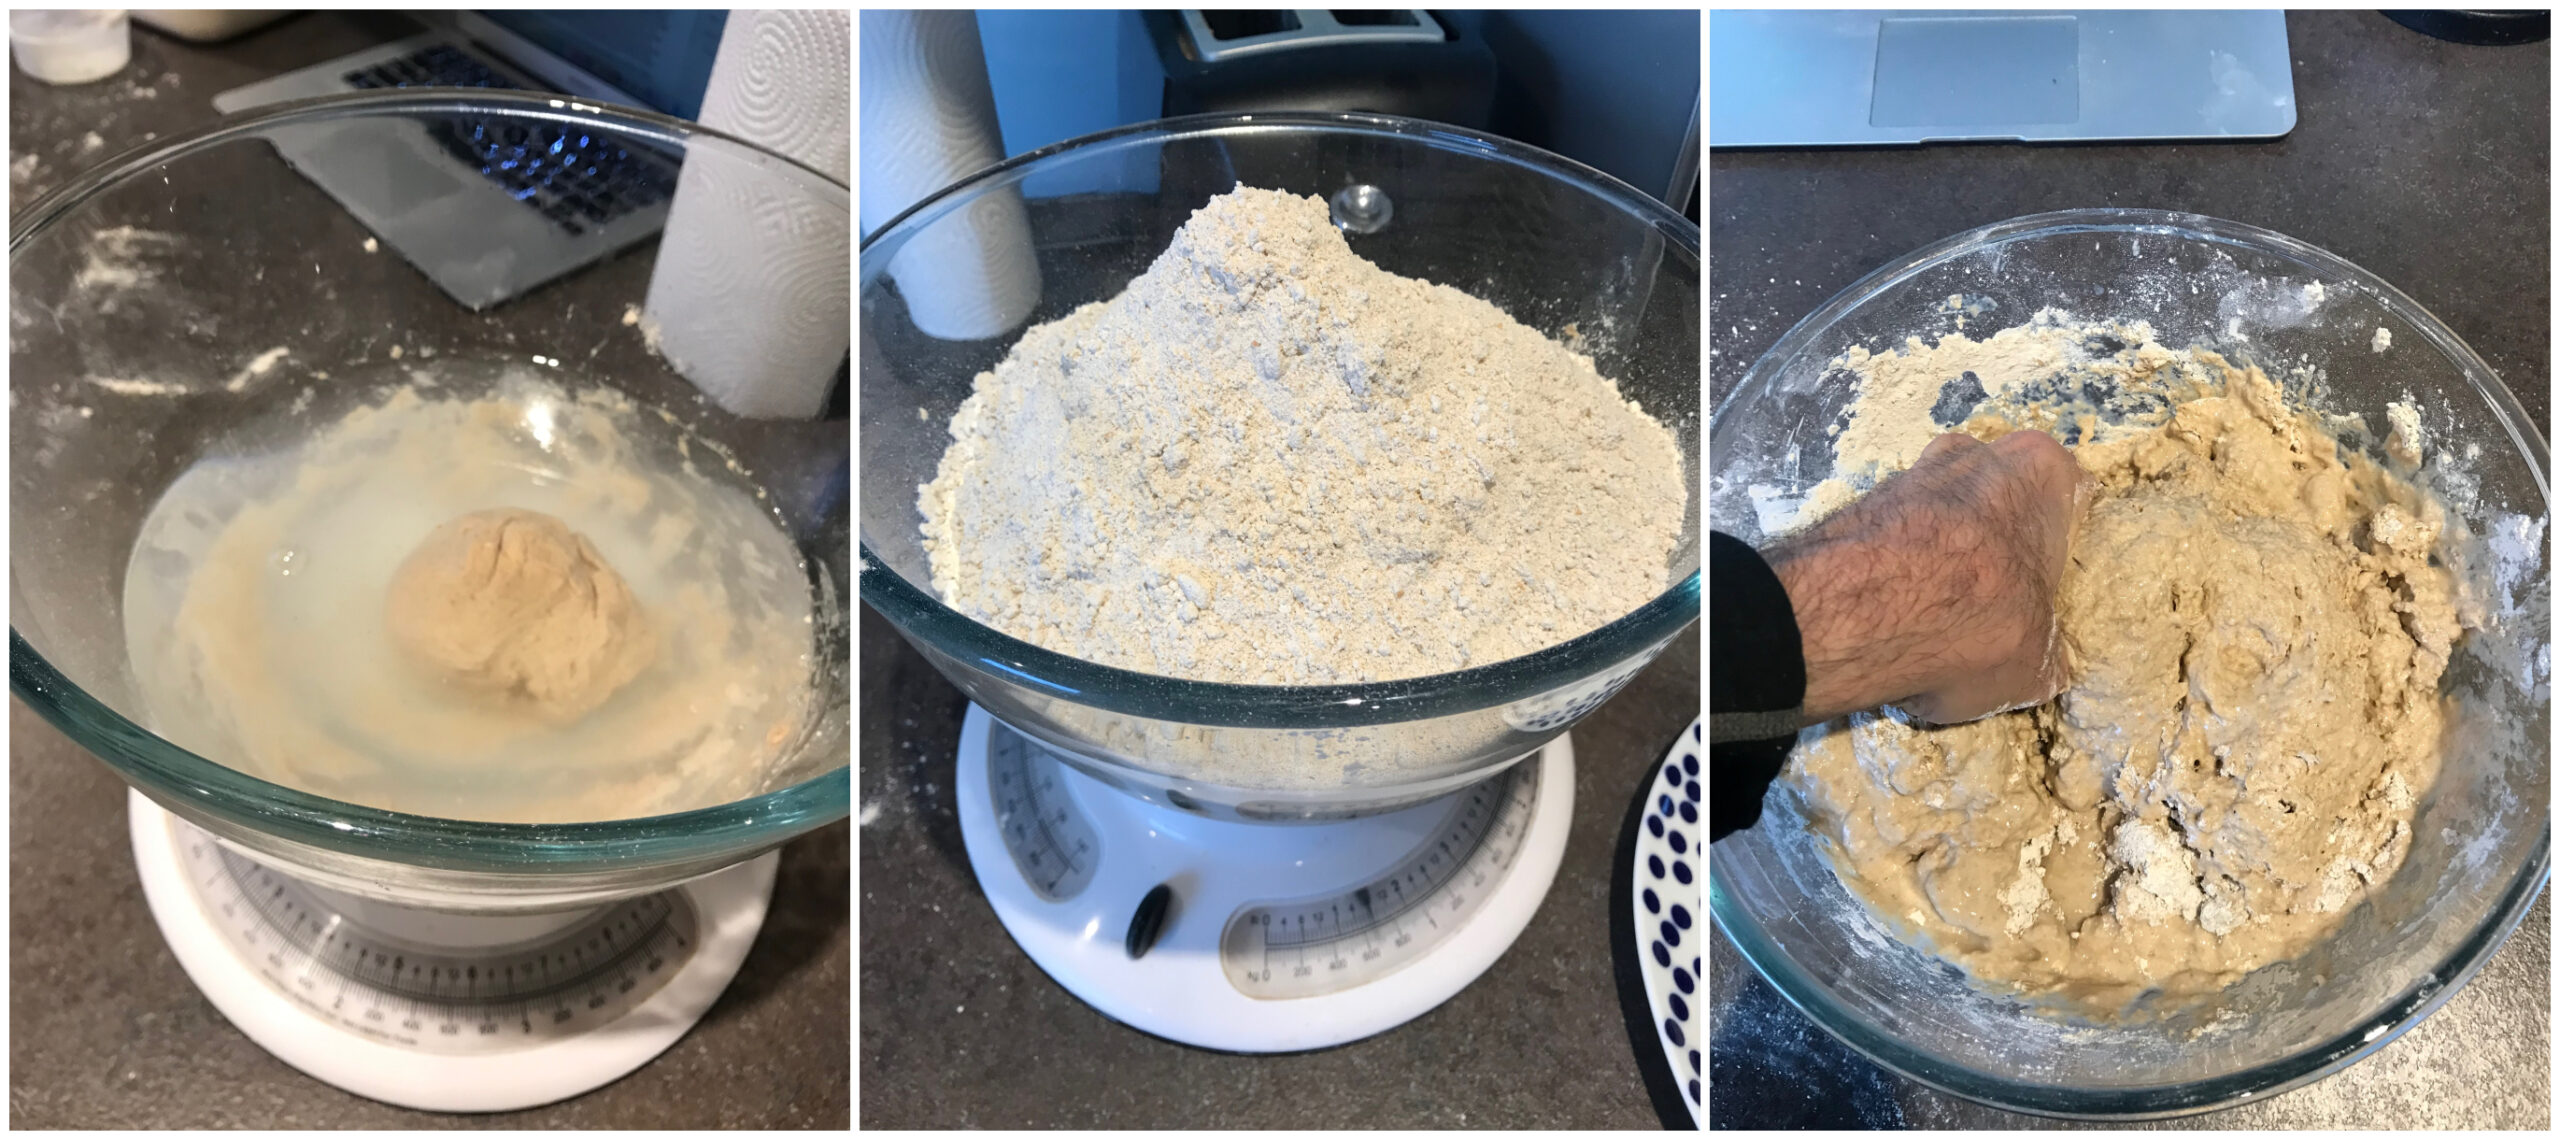
The night before you want to bake, mix about 150g of starter with about 75g of water and 75g of whole wheat flour. Mix to make a stiff dough, if necessary adding a bit more flour or water to do so. Knead a few minutes, and then leave overnight at room temperature (12-15C is good) in a bowl covered with a plate.
Step 3. Make the bread.
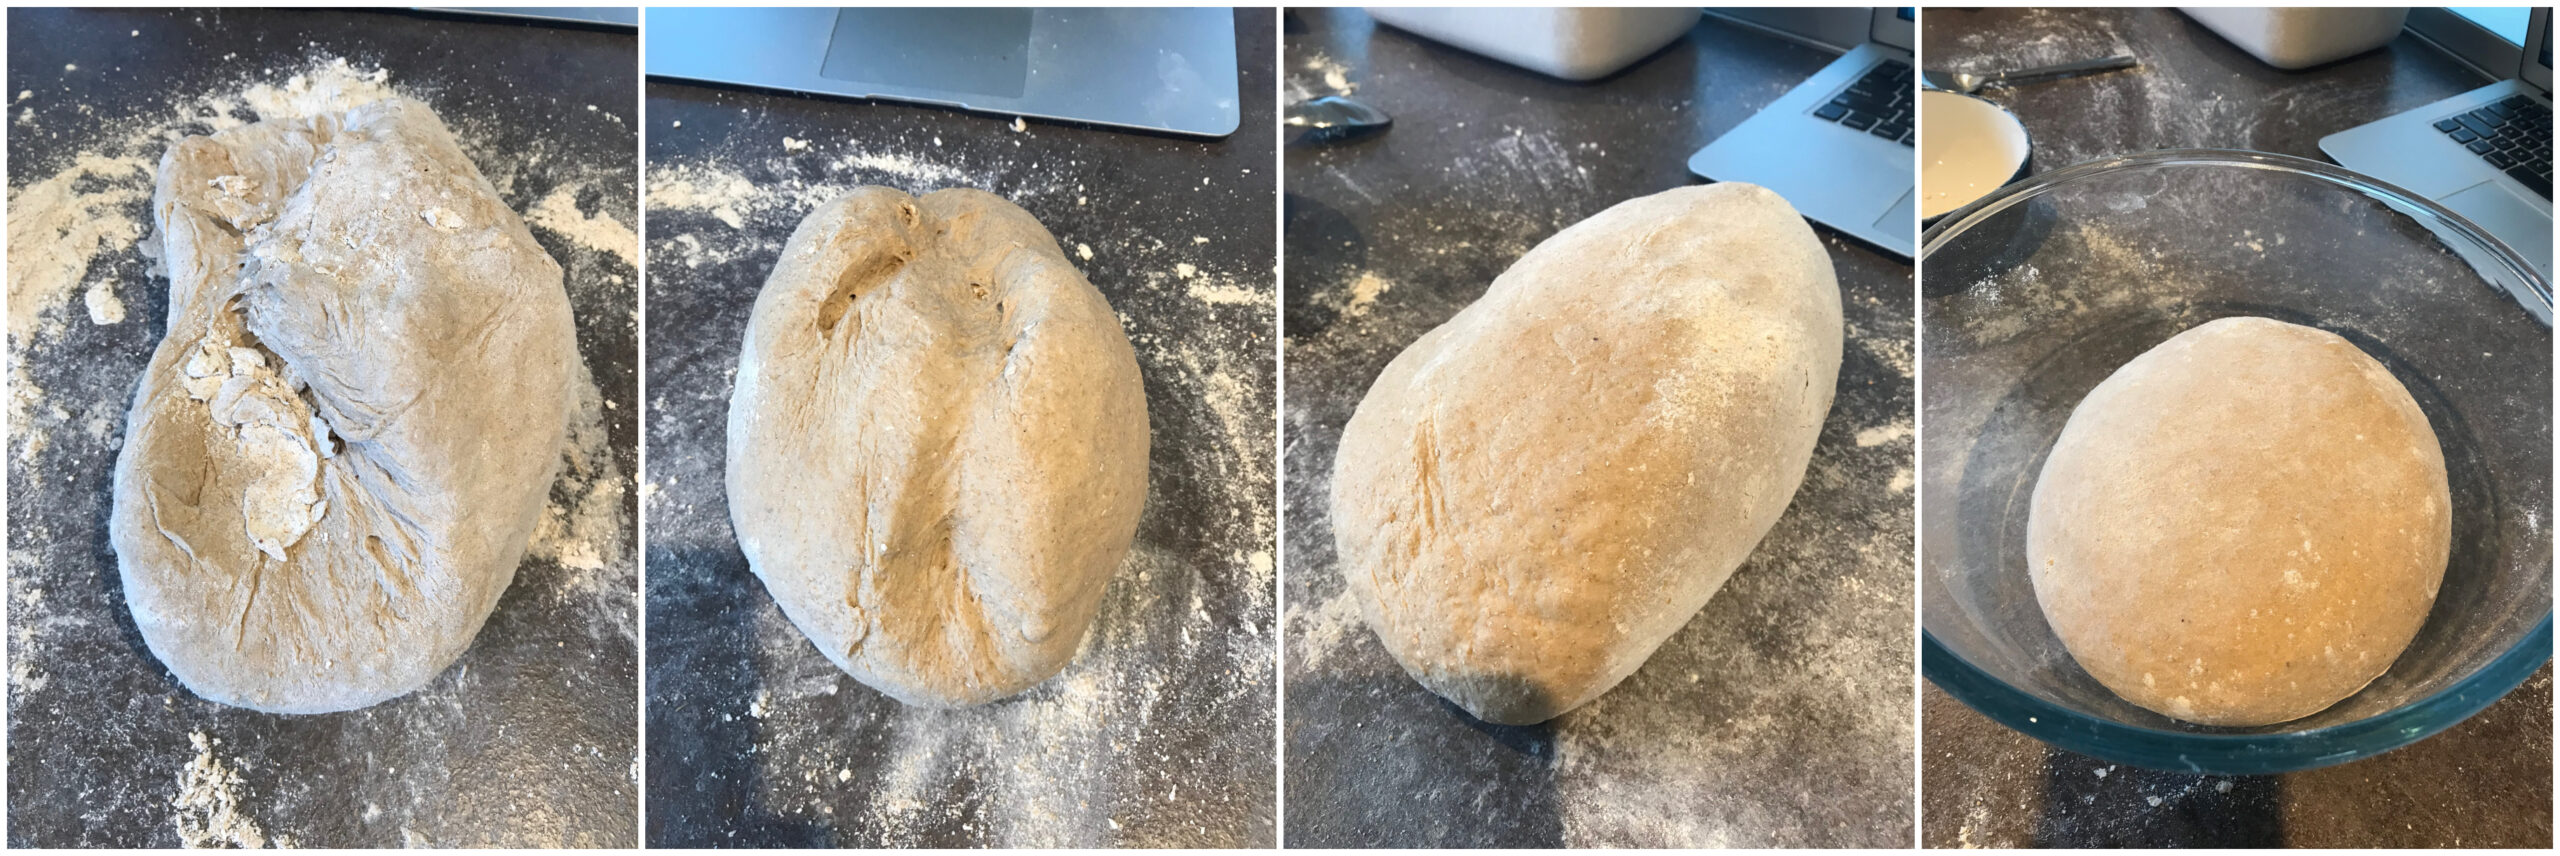
In the morning, you will find your starter has grown; it will have almost a cheese-like texture inside. Reserve about half (150g) of the starter for next baking by dusting it with flour, wrapping in the handkerchief and putting it in the sealed container and in your refrigerator. Put the other half (150g) in a large bowl, add 640g of water, and 16g of salt. Let the starter dissolve in the salt water for 10 minutes. Add 600g of flour and mix with your hand to make a very wet dough; dust the dough all around with another 100g of flour. Reserve another 100g of flour. Cover the bowl with a plate, and let this sit for another 10 minutes or so while you wash your hands. The time lets the dough start to set up. Turn the dough out onto a clean countertop well-dusted with flour, and knead, adding a dusting of flour from your reserve as the dough is about to become too sticky to work (you can dust your hands with flour as well). While you are kneading, you can have the bowl soaking in some warm water to make it easier to clean. Kneading might take 5-15 minutes. You should get a smooth, elastic, shiny dough, a little sticky, but resist adding too much more flour; I will usually have about half of my flour reserve left at the end of the first kneading.

First rise: Put your kneaded dough into the clean, dry bowl, dust it with flour on all sides, and cover the bowl with the plate. Let the dough rise in a cool place (12-15C) until the underside of the plate is covered in condensation, the dough is noticeably larger in volume, and a wet finger poked into the dough makes an indent that doesn’t spring back very quickly – usually about 3-4 hours. Press the dough gently into a flat disk about 3cm thick on a dusted surface, fold and fold again, and form into a round shape once again. Return it to the flour-dusted bowl.
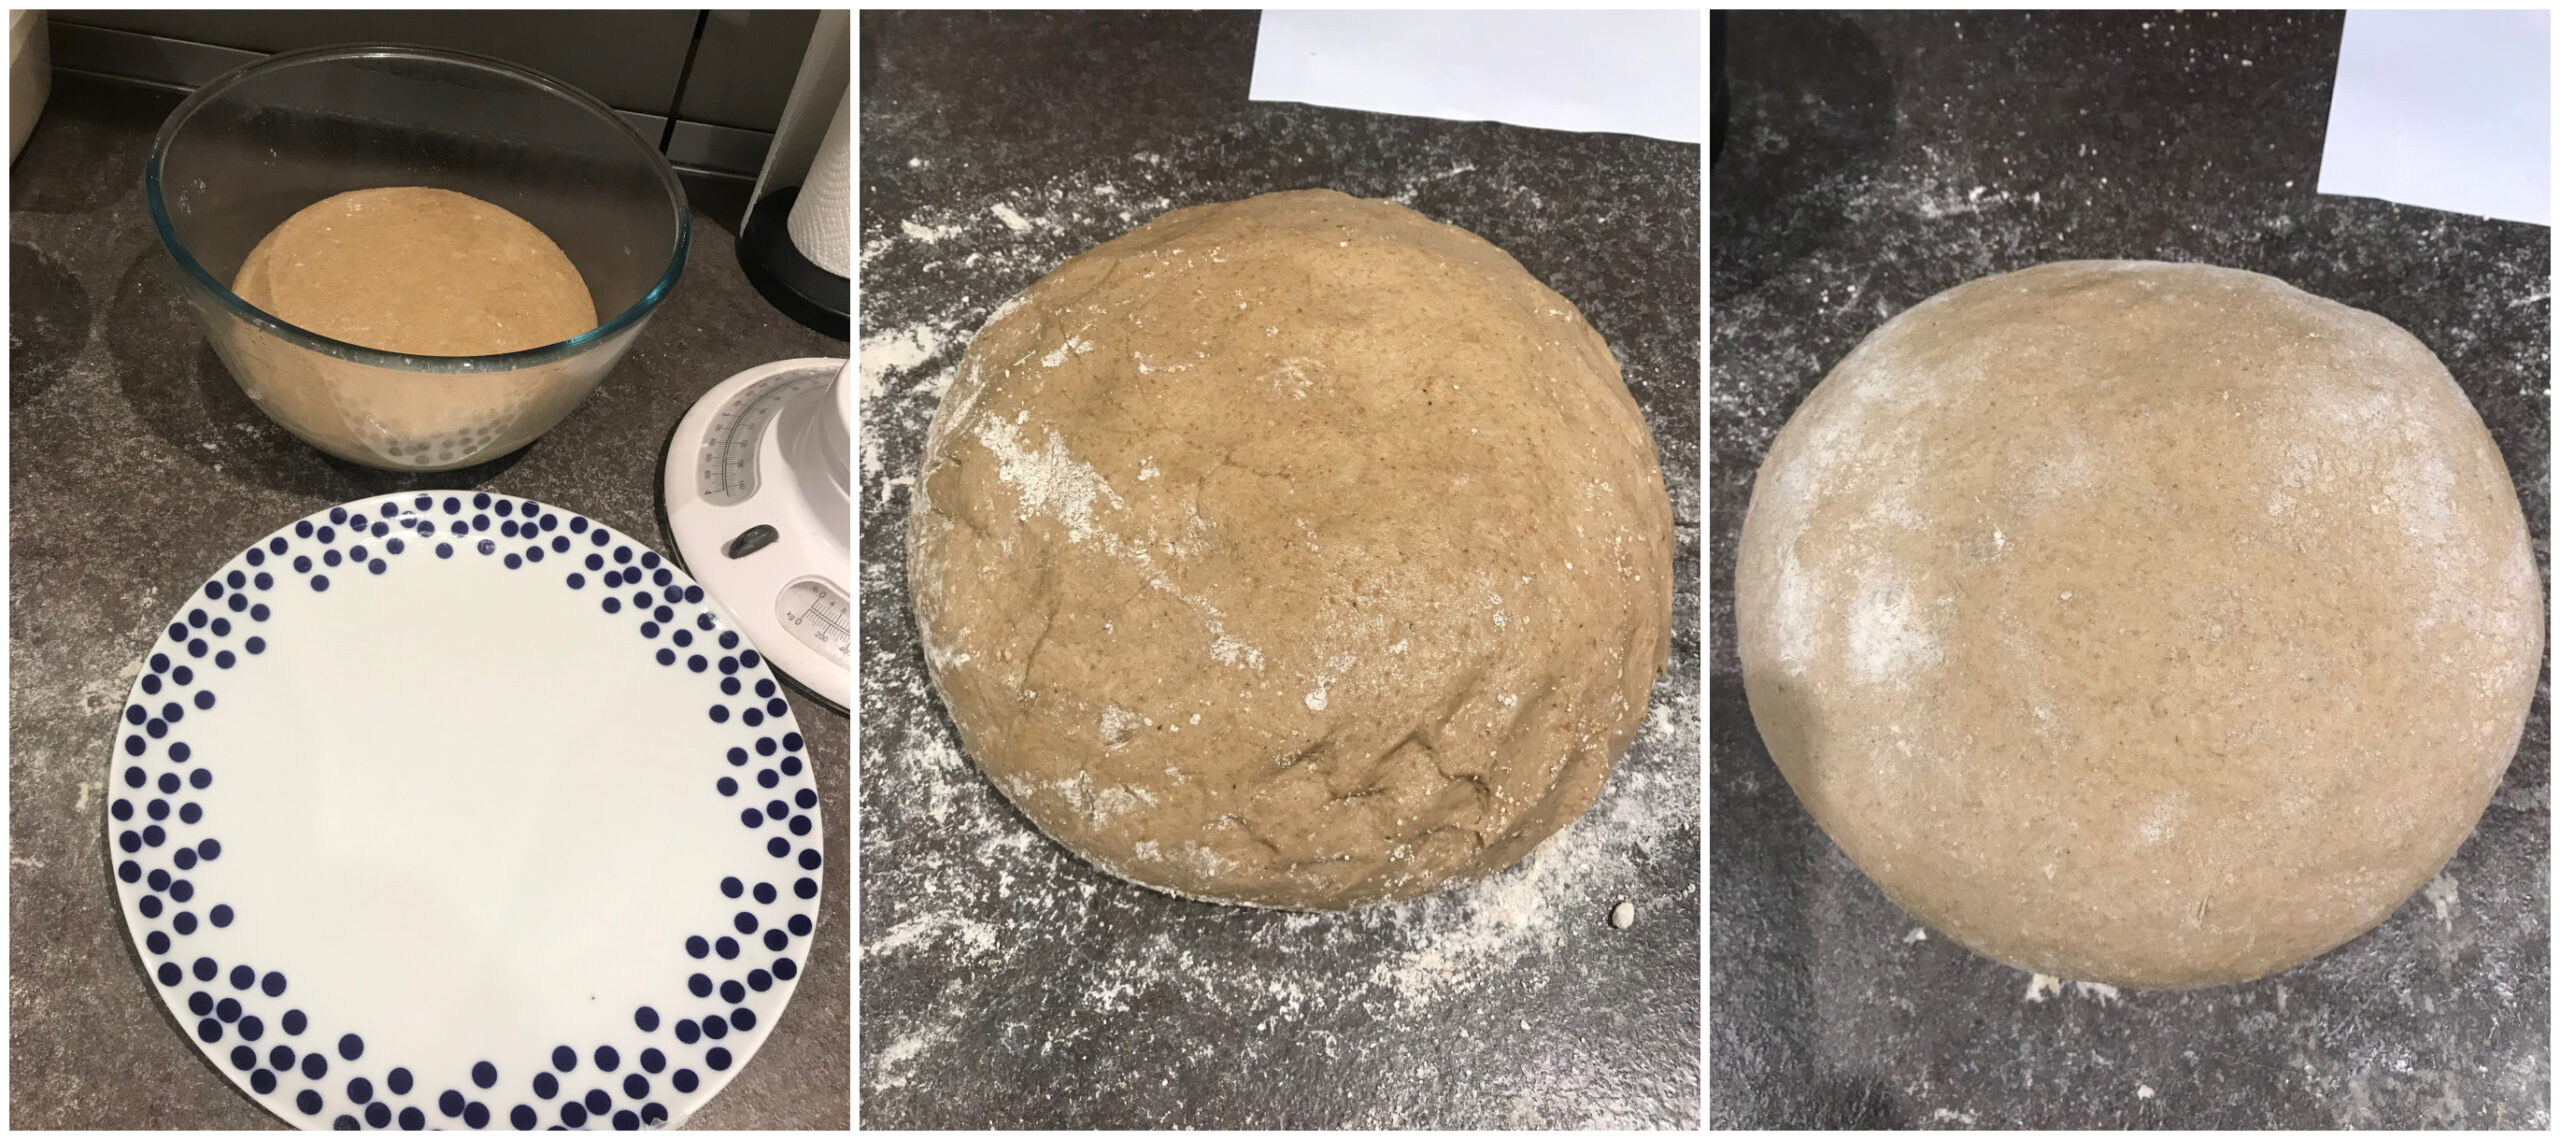
Second rise: Same as the first rise, except it will take about half the time. At the end of the second rise, divide the dough into two before folding and rounding and dusting with flour. Then cover with a clean tea towel.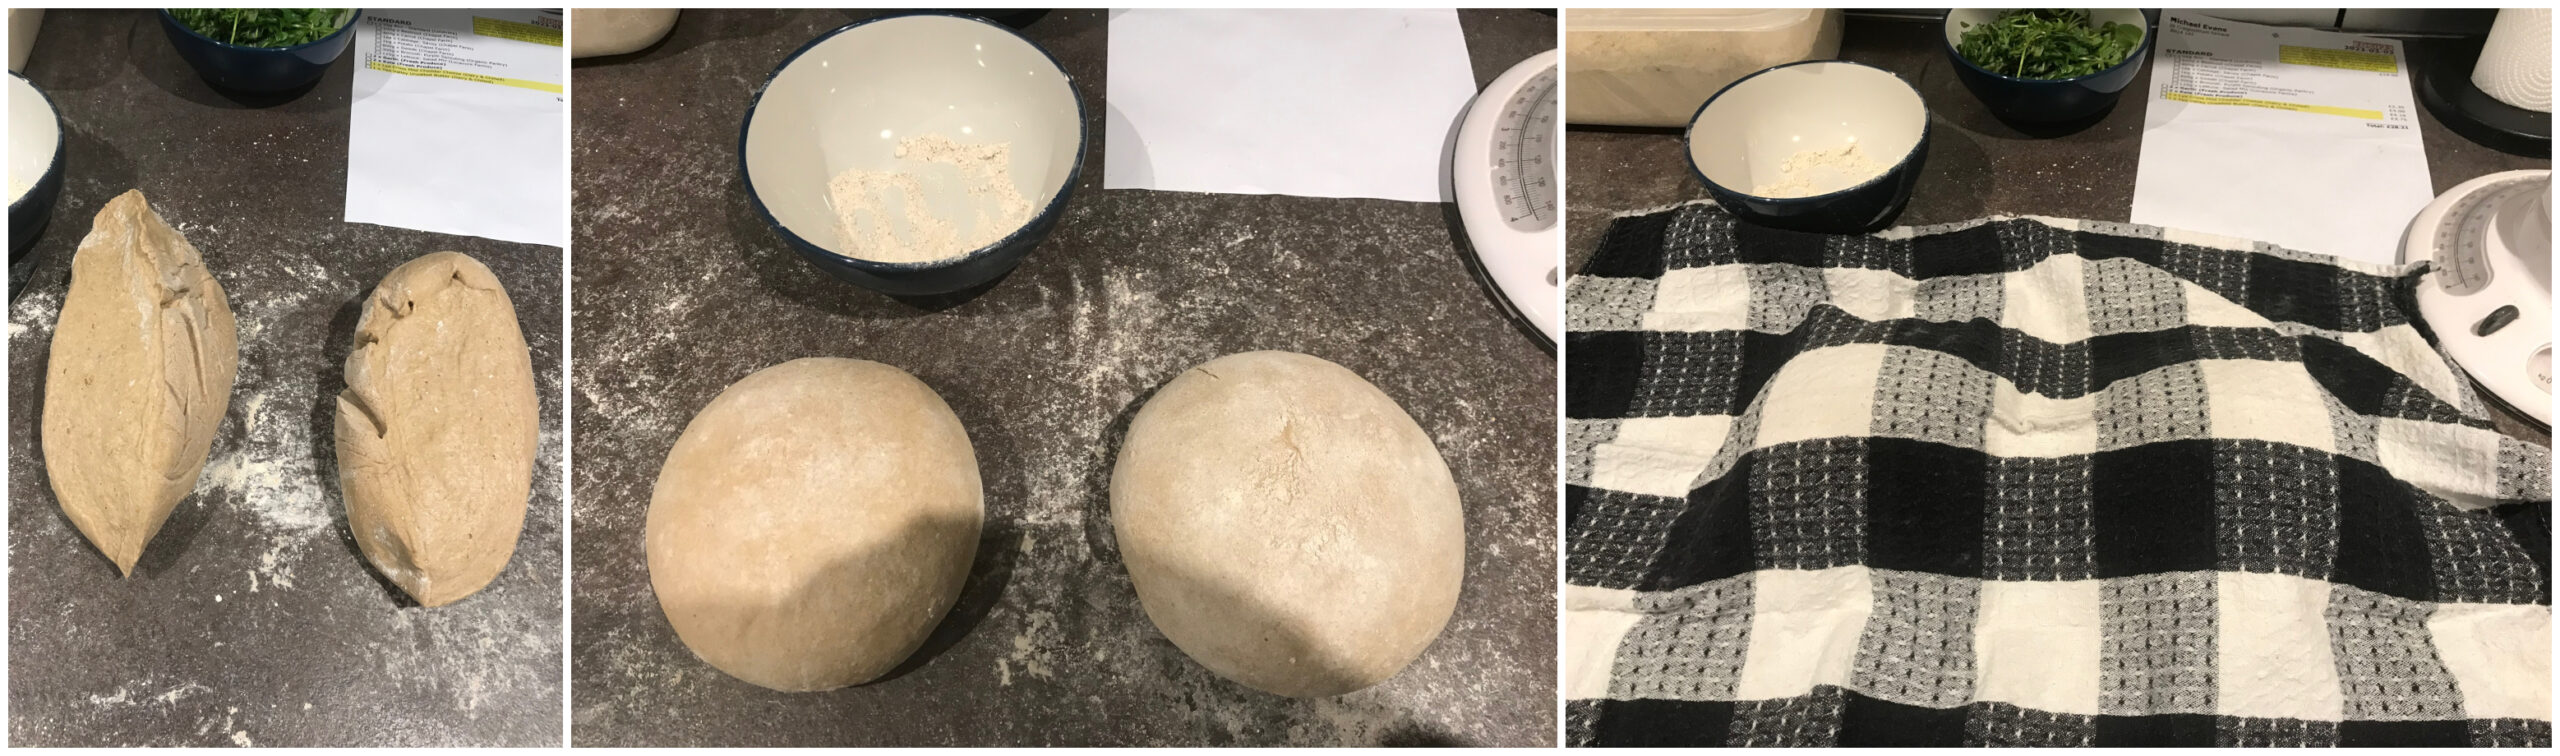
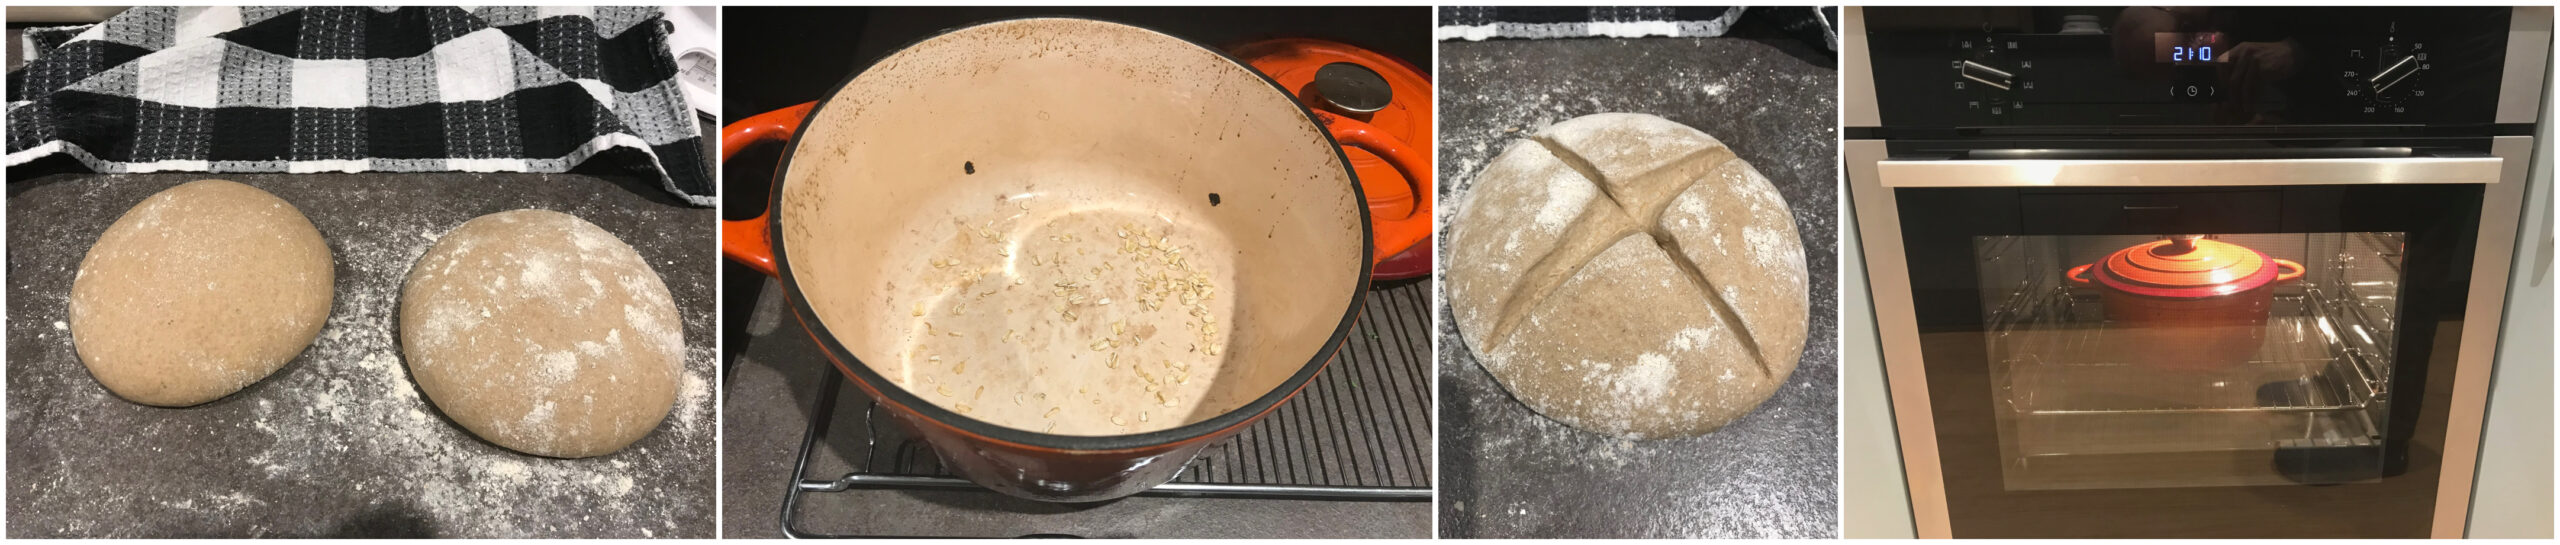
Third rise: This is shorter still, perhaps 45 minutes. While this rise is happening, remove one of your oven racks to the countertop, then preheat a Dutch oven (cast iron, enamelled lidded casserole) in your oven at 240C with convection (260C without convection). For a better oven spring, repeat the flattening, rounding and shaping of your two boules twice more, perhaps at 15 minute increments, during the third rise, using more dustings of flour to keep the boules from sticking to your hands or the countertop.
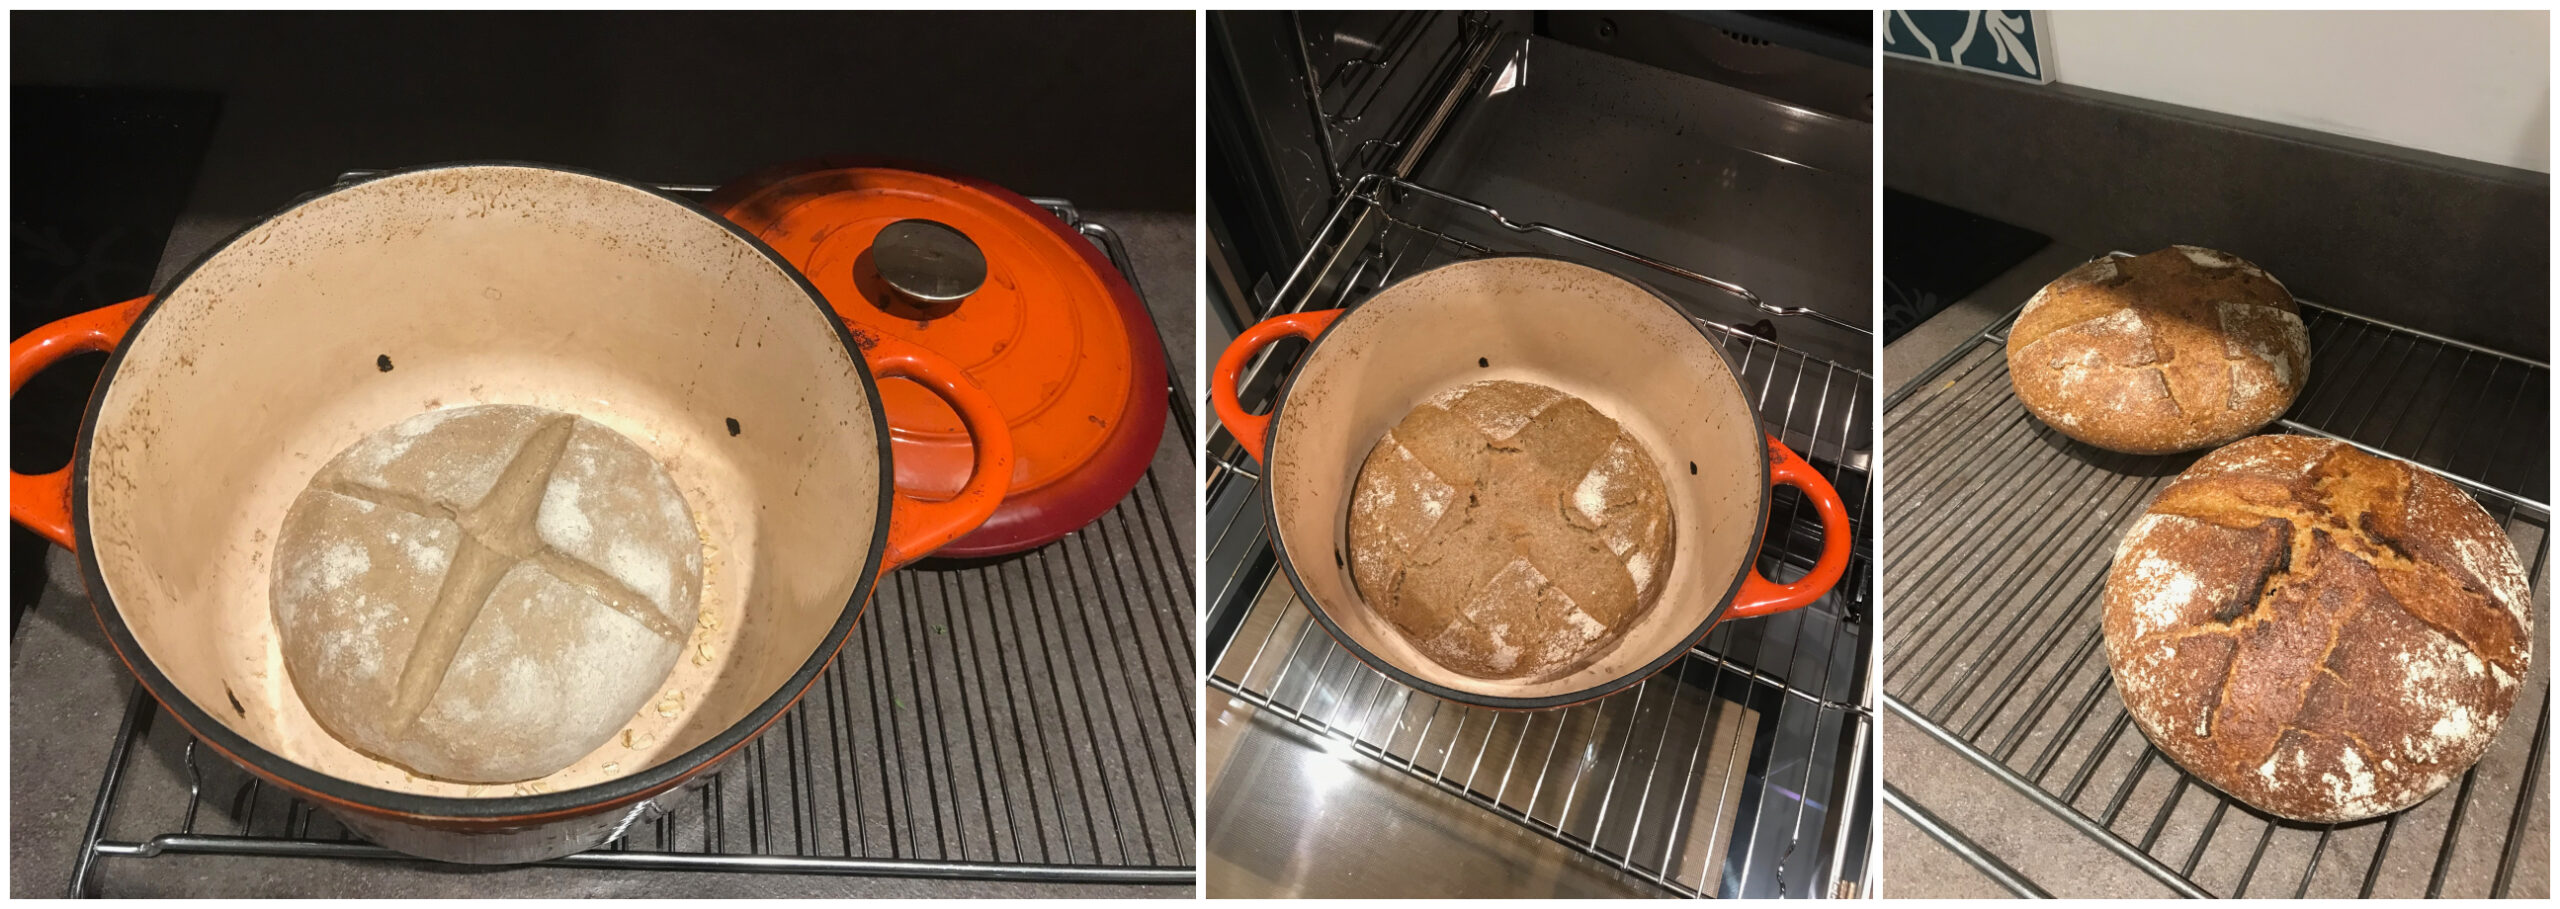
Bake the bread: Do this one boule at a time. Use ovenproof gloves to remove the hot Dutch oven to your oven rack on your countertop and remove the lid. Dust the bottom of the Dutch oven with some oats, slash your first boule with a sharp knife in a cross pattern, and drop it into the Dutch oven, being careful not to touch the Dutch oven with your hands. Put your oven mitts back on! and cover the Dutch oven, and put it back into the oven. Bake for 30 mins, then remove the lid of the Dutch oven to the countertop oven rack and bake another 15 mins. Turn out the bread to a cooling rack, and repeat the baking for the second boule (which you may have rounded and shaped once or twice while the first boule was in the oven.)
Slicing and keeping.
Let the bread cool as completely as you have patience for before slicing (good luck with that if the kids are watching). The bread flavour will actually improve into the next few days. Store in a paper bag the first few days, then in a breadbox or plastic bag the next few days. You can also slice it and freeze it in sealed bags or containers. And give the second boule to someone you like.
Does this seem like a lot of detail and work? If so, below is the recipe, condensed. And after you bake routinely for a while, you can wing it: feed the starter some flour and water. Reserve some starter, use the rest to make up a stiff dough with flour, 640g or so of water and a palmful of salt. Knead until it looks right, let rise. Let rise again. Divide and round two times. Let rise a third time while you preheat the Dutch oven. Bake in covered Dutch oven 45 mins with the last 15 mins uncovered. Let cool. Share.
Desem boule
Makes two 700g boules.
Desem starter tools
- large non-metallic bowl
- supper plate to cover the bowl
- handkerchief
- medium (~450g) sized non-metallic sealing container and lid
- optional: kitchen scale if you want to be precise, but you can also approximate everything
Desem starter ingredients (flour = Scotland The Bread whole wheat Balcaskie landrace flour)
- 150g desem starter (starter or recipe available on request to mne.prs@gmail.com)
- 75g water
- flour to make a stiff dough (75g), plus a little extra
Feed and ripen the starter: Combine the starter, water and flour in bowl to make a stiff dough. Dust with a little extra flour if needed, and knead for a few minutes. Form into a ball, place in large bowl, cover bowl with plate, leave in a cool place (12-15C is good) to ripen overnight.
Bread tools
- tea towel
- enamelled cast iron baking casserole with its lid, medium size
- oven with two racks
- heatproof mitts
- sharp knife for scoring
Bread ingredients
- 150g fed and ripened desem starter
- 640g water
- 16g fine sea salt
- 300g + 300g +100g Scotland the Bread Balcaskie landrace whole wheat flour
- 100g Scotland the Bread whole wheat flour for kneading and surface dusting
- 20g Scottish organic oats
Make the dough: Wrap 150g ripened starter in handkerchief and seal in the non-metallic container, put into the fridge for next feeding/baking cycle. Dissolve the other 150g ripened desem starter in the water. Add the salt. Add 700g flour and mix into a rough dough. Let sit covered for 10 mins. Turn dough out onto a well floured surface. Knead steadily and in a consistent manner until dough is firm, shiny, elastic, taking breaks as needed. Clean and dry the bowl during a break in your kneading. Place dough in bowl and cover with plate. Let rise in a cool place until when prodded with a finger, the dough doesn’t spring back quickly, and there’s some condensation on the underside of the plate. Lightly flour dough, degas dough, round on floured surface, and put back in bowl and cover for second rise. After second rise, degas dough and round again; let relax. Divide dough, de-gas, round and shape boules, let rise draped with tea towel on floured surface.
Bake the boules: Remove one of the oven racks from the oven and place on stovetop. Preheat oven and baking casserole to 240C with convection. When oven and casserole are preheated, round the dough again; let relax. Remove hot casserole to stovetop oven rack and remove lid. Dust bottom of casserole with oats, slash first loaf, place in casserole, replace lid, put casserole in the oven. Bake with lid on for 30 mins. Remove lid and bake for 15 more mins. Remove bread to stovetop oven rack to cool. Repeat for second boule. Allow bread to cool completely before slicing thinly.
Time and Money: Feed the starter overnight, mix dough in morning, let rise in fridge during day, bake in evening – around your other work. You may already have all the tools in your kitchen. Flour @ 2/Kg, salt @ 1/Kg, energy ~ <1 per 700g boule and about 90 mins time over 24h.
Great Post! Thanks for sharing the knowledge and keep up the good work.
Thank you! I love working with the Scotland the Bread flour, and the Edinburgh water tastes so good. Together with the cool temperatures and the high humidity, it makes for a very flavorful bread.
I absolutely love this recipe for People’s Bread! The simplicity and cost-effectiveness make it a perfect addition to anyone’s baking routine. The fact that it’s based on the Flemish Desem recipe from Laurel’s Kitchen gives it a solid foundation, and I completely agree with the philosophy of Real Bread. Making bread from scratch with wholesome ingredients truly enriches both our lives and our taste buds. I appreciate the adaptable routines mentioned here – whether it’s a weekend bake or a working parent’s schedule. The idea of sharing one of the boules as a gift is a heartwarming touch. This recipe brings not only delicious bread but also a sense of community and connection.
Thank you! All credit to Laurel. I am experimenting with some changes to try out in time for SBC2024, with the help and partnership of friends in Edinburgh. (Just baked today, in time to share at family and friends’ holiday gatherings.) But the same simple ingredients and flexibility.
MIGHT NOT GET TO BOWHOUSE 24/2/2024 BUT Have to do something about Bread.
This guest post celebrates the Desem Boule, a hearty and wholesome bread that connects to the tradition of community baking. It emphasizes the importance of sourcing quality grains and the art of making bread that nourishes both body and soul. The informative content is rooted in the idea of sustainable bread-making practices and the connection between food and culture.
Thank you! When I went to live in Wollongong in 2016 I forgot my starter but a kind local bakery shared theirs. Now I am back in the US and just gave some starter and this recipe to a new neighbor.
Thank you! When I went to live in Wollongong in 2016 I forgot my starter, but a kind local bakery shared theirs. Now I am back in the US and just gave some starter and this recipe to a new neighbor.